Directions
for scanning and Editing an Image from the Adobe Photoshop Program.
We are going to use the .jpg format
when saving our scanned images and digital camera images. The .jpg will allow the
file to be compressed enough to fit on a single 3 ˝ high-density floppy disk. (If your
scanner is connected to the computer that you are working on, then you can save in the TIF
format. This format can be used in printing programs on any platform, and saves the
information exactly as it is scanned. The drawback is it creates a very large file, but
you can save it into your My Documents and keep it there instead of on a disk.)
If
you would like to use Adobe PhotoDeluxe to scan your image and then edit it follow these
directions.
- Open up Adobe PhotoDeluxe
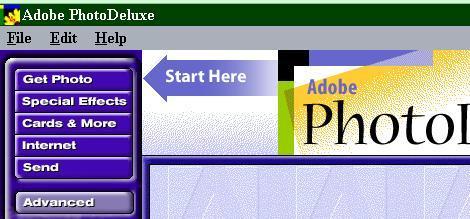
- Click on Get Photo
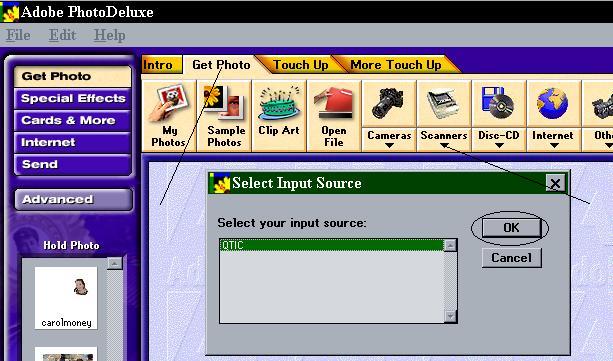
- Then click on the Tab Get Photo
- Then click on the pull down menu under scanner
- Choose your scanner software type
- Click on OK
- Select Preview from the Scan
menu.
- The picture should appear in the viewing area.
- Click on the viewing area and
crosshairs will appear.
- Holding the right mouse button down drag
a box around the image. If you want to adjust the box, there are handles located on
the upper left and right hand corner, and also at the lower right and upper left hand
corner. Once you have selected the area you wish to scan, then proceed.
- Click on Zoom from the File menu.(You have to click
on Zoom everytime you make a change to your previewed image.)
- Then click on Final.
- To adjust your image click on the Touch Up
tab
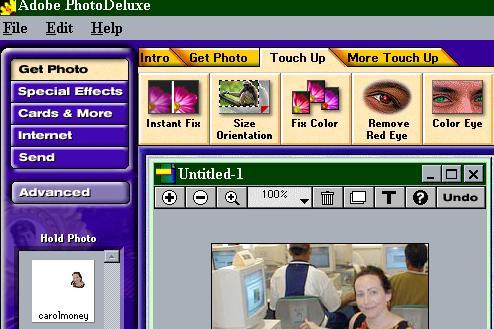
- To do an instant fix click on the Instant
Fix icon
- Change the size by clicking on size
orientation. You should see the following screen:
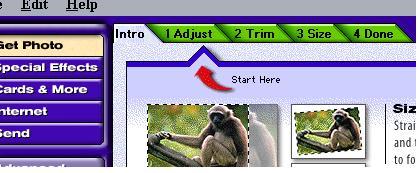
You have to click on the tabs in order. So click on the Adjust, and Trim Tab, then
click on the Size Tab.
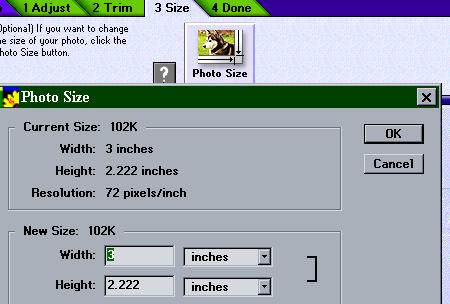
- Then type in the size of the
picture that you want.
- Click on the Done tab
- Then select Save As…from the
Scan menu. A Save As..box will appear. In the "Save in" box..click
the down arrow to locate the (3 ˝ Floppy A:) drive.
- In the file name box give the file a
name, make it eight characters or less,small letters, no spaces.
- Locate the drop down arrow located to the
right of the box below the file name box. Click on the arrow and make sure that the file
name .jpg or jpeg is selected. You will be saving your file to the a:/ floppy drive
in a .jpg format.
- Left click on the SAVE button.
- Remove your disk from the Floppy A Drive.
- And click on File and then Exit.