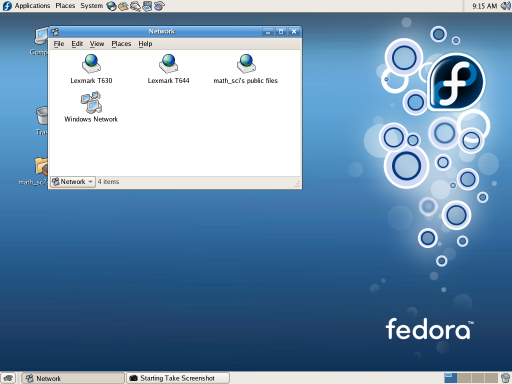
The A204 computer laboratory is using new computers. These computers use a new operating system called Fedora Red Hat Linux 5. The desktop itself also has name, it is called Gnome. There are some differences from the Windows operating system the laboratory has used in the past. The first and most obvious is that the menubar is at the top of the screen.

A closer view of the menubar at the top:

Shut down is located on the System menu. The icon to the right of the system menu is the web browser, and the icon on the far right is the spreadsheet. The desktop includes a very powerful calculator that includes four different views. The calculator is on the accessories submenu of the applications menu.
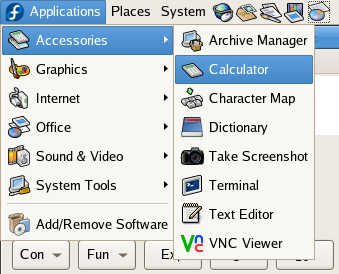
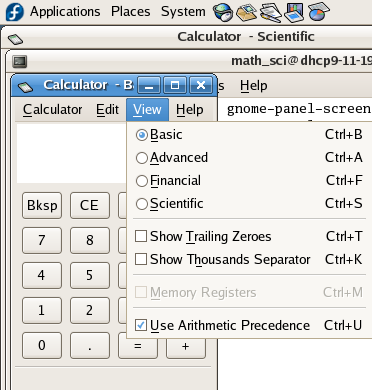
The calculator usually opens in the Basic mode. Use the View menu to change modes.
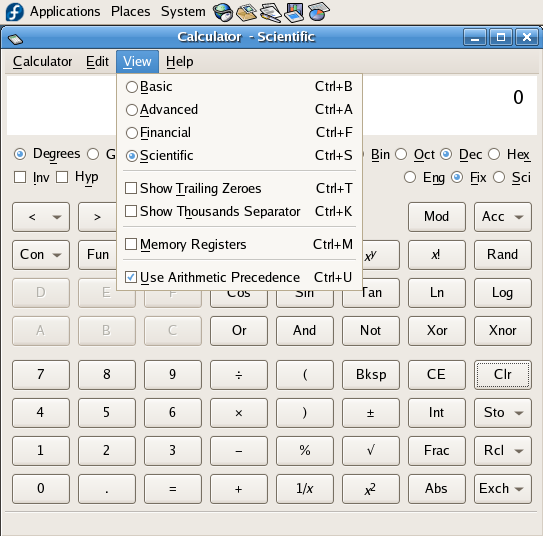
Choose the Scientific button to see the scientific mode.
In the OpenOffice spreadsheet program the chart wizard button has a slightly different appearance from that of the button in Windows. Otherwise I find little visual difference between the OpenOffice Windows version on the computer at the front of the classroom and the Linux version on the students computers.
OpenOffice on the student computers:

OpenOffice menubar with chart wizard seen at the upper right on the faculty computer at the front of the room. Note that the little percent sign does not appear on the icon. Otherwise the icons are identical.
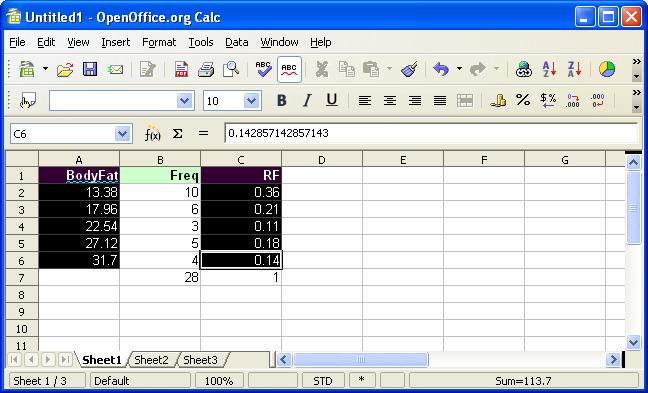
The following is a technical note on how the images for this page were created.
The above shots were captured using both the Take Screenshot utility and running a command from the terminal.

Take Screenshot captures the whole desktop. Alternatively one can press the Print Screen key on the keyboard to capture the whole desktop. This then calls up the Take Screenshot utility. Another option is to hold down the Alt-key and press Print Screen, this captures only the currently active desktop window.
To capture menus one has to use a command in the Terminal utility with a delay setting. That command,
gnome-panel-screenshot --delay=5
can be seen in the background of the image below. The command was typed into the Terminal window.

The command cause a 5 second delay, or any other delay specified in seconds, allowing one to open menus or cause other transient screen events to be captured.
Other differences to bear in mind
Statistics • Lee Ling • COMFSM